

type
status
date
slug
summary
tags
category
icon
password
pfSense项目是一个自由的网络防火墙发行版,它基于 FreeBSD 操作系统的定制内核,并包括第三方自由软件包的附加功能。
一、环境介绍
1、VMware ESXi 6.7.0 Update 3 (Build 15160138)
2、pfSense-CE-2.6.0-RELEASE-amd64,官网下载:https://www.pfsense.org/download/
二、环境创建
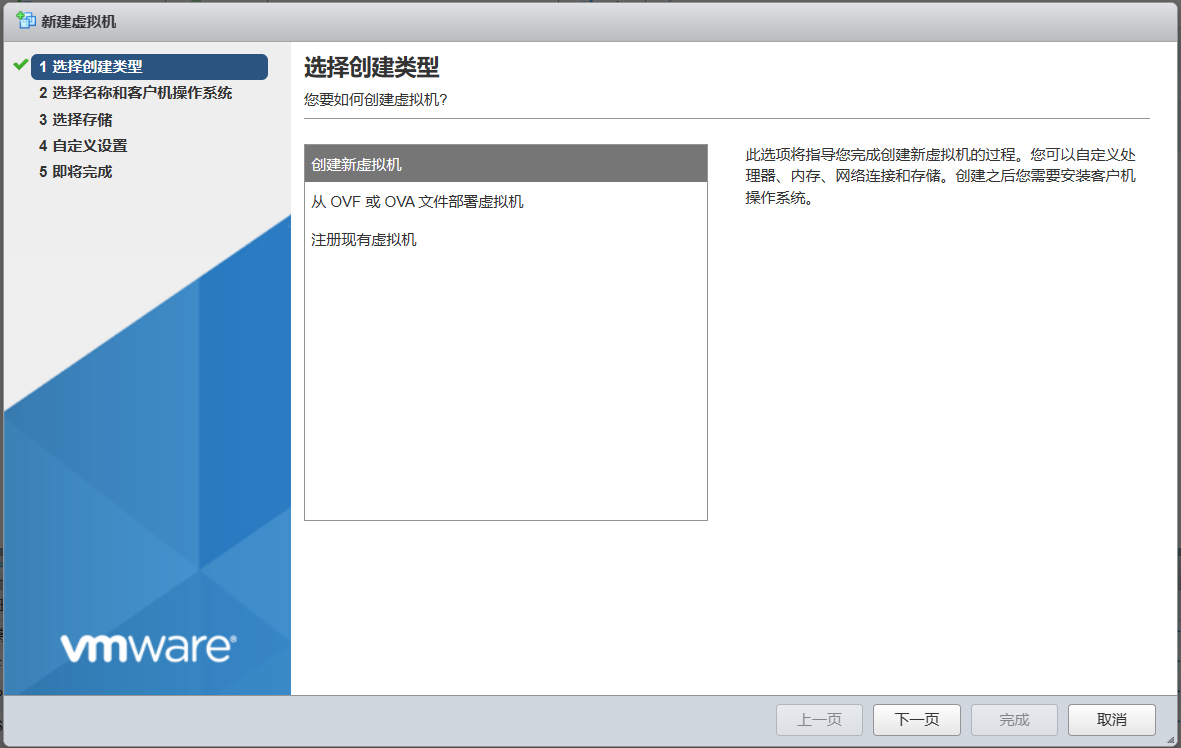
1、点击 创建/注册虚拟机 ,选择 创建新虚拟机 ,点击 下一页
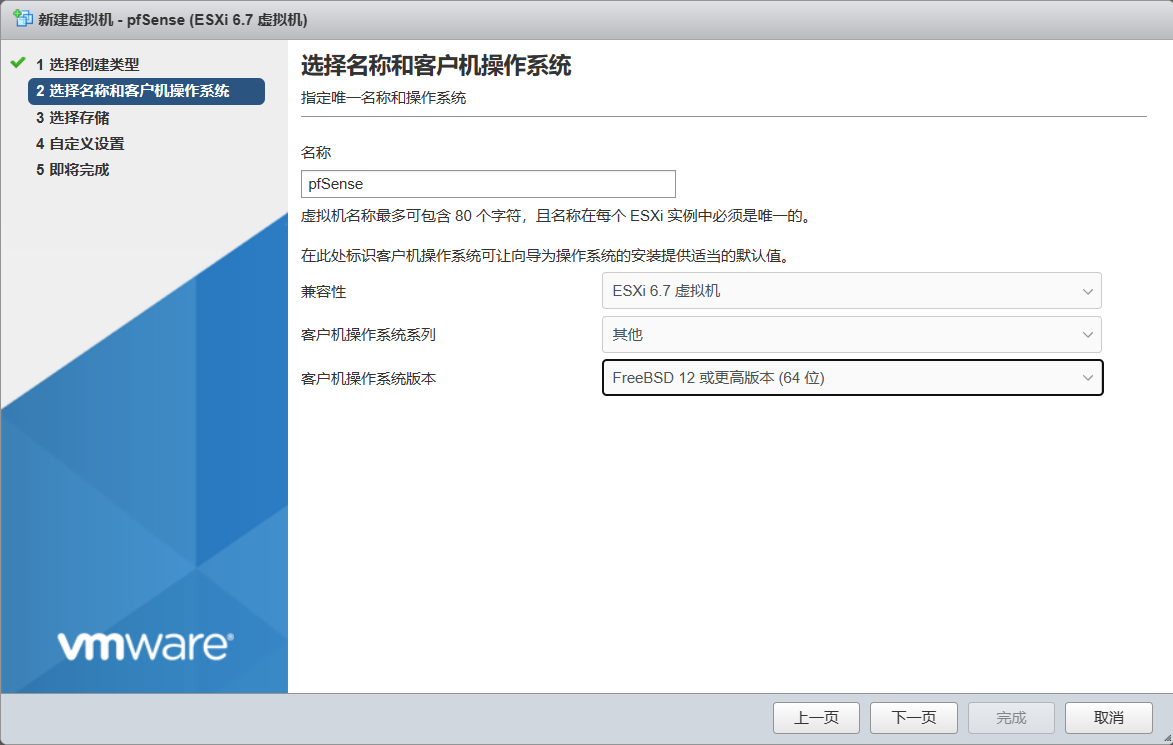
2、名称随便输入 pfSense,兼容性选择 ESXi 6.7 虚拟机 ,客户机操作系统系列选择 其他 ,客户机操作系统版本选择 FreeBSD 12或更高版本(64位),点击 下一页
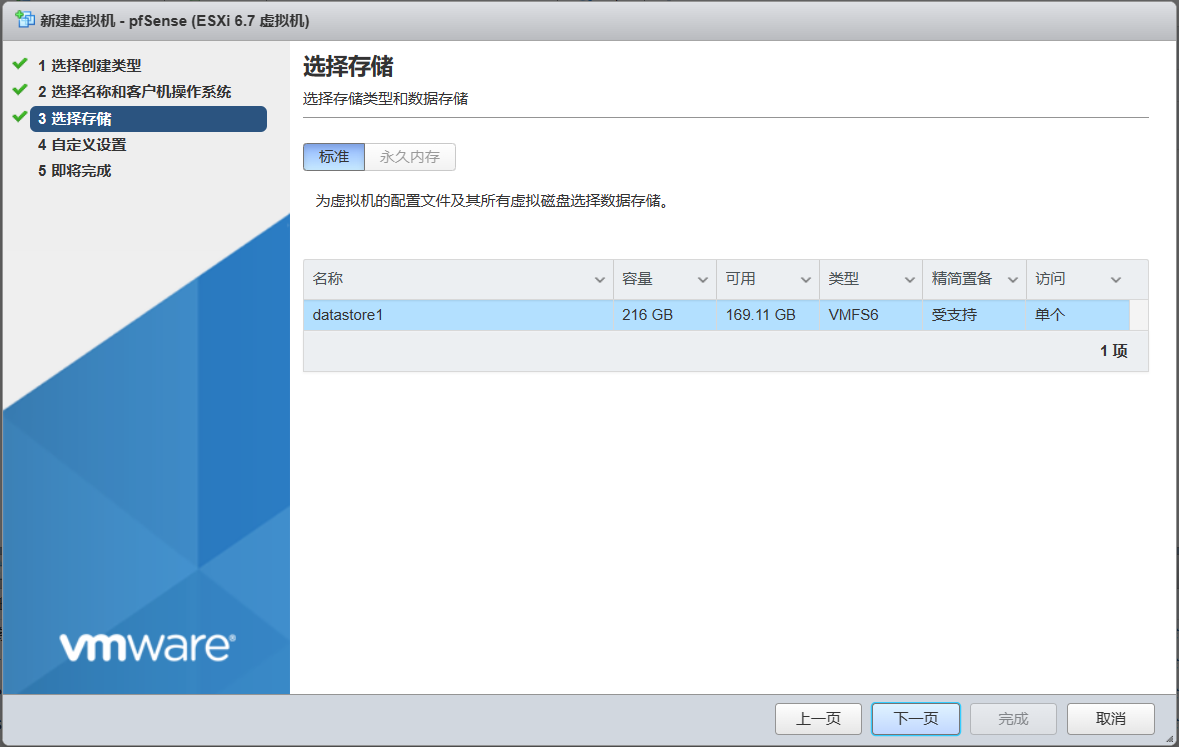
3、选择存储,一般默认即可,点击 下一页
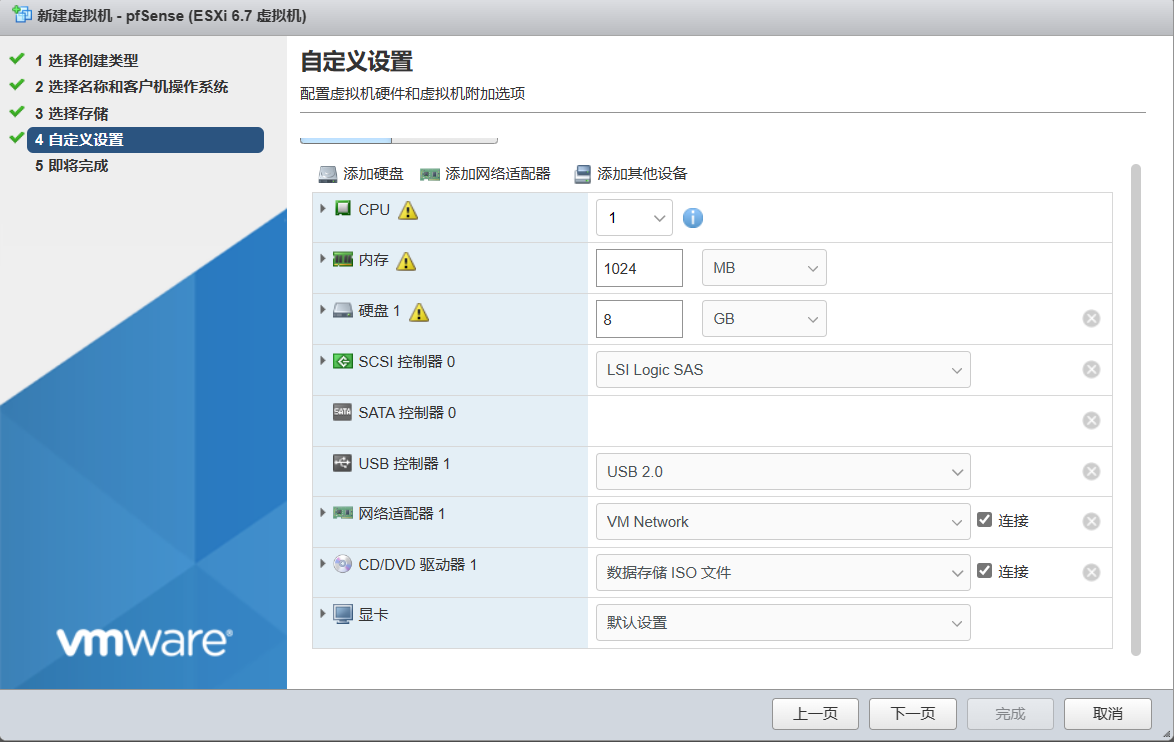
4、CPU和内存按实际情况设置即可,CD/DVD驱动器1选择 数据存储ISO文件 ,选择pfSense-CE-2.6.0-RELEASE-amd64.iso镜像,点击 下一页
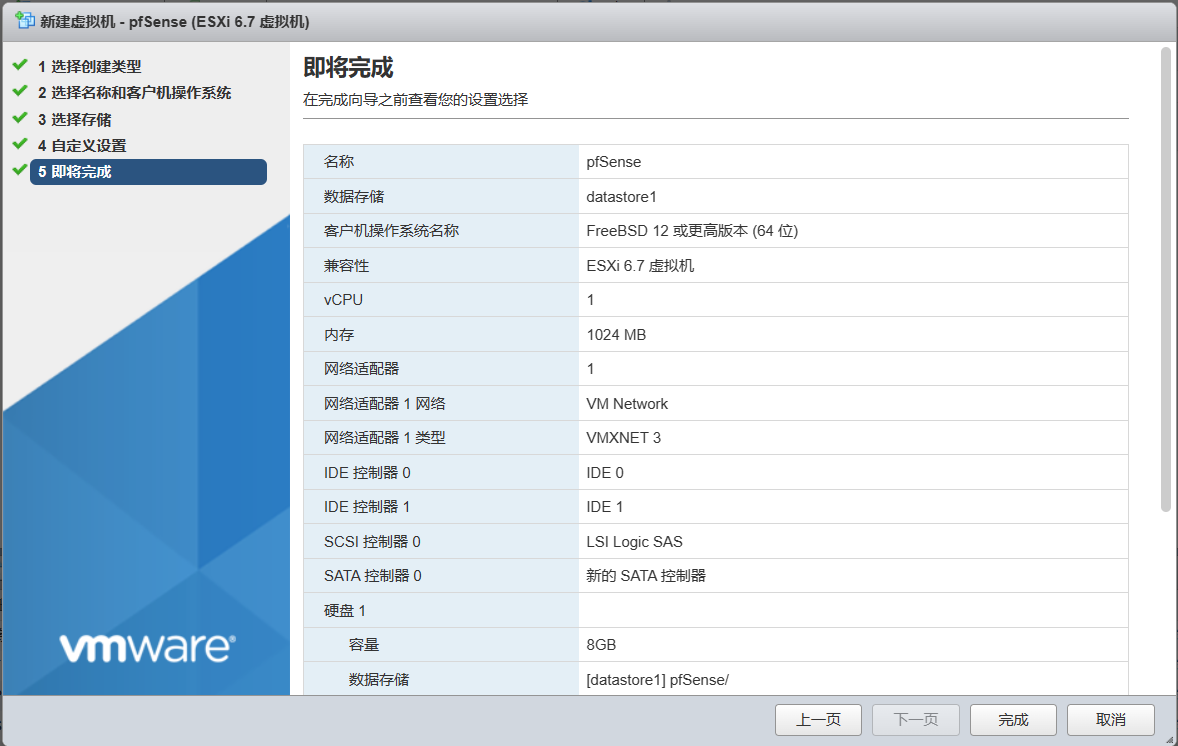
5、配置列表,点击
完成
即可
三、pfSense安装
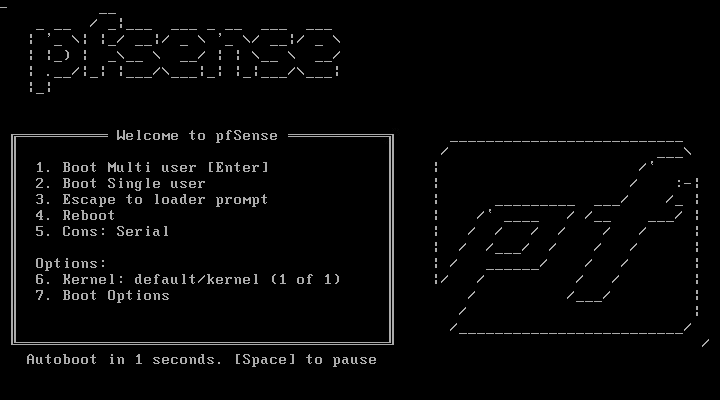
1、开启pfsense虚拟机,看到pfsense启动项,直接默认启动即可
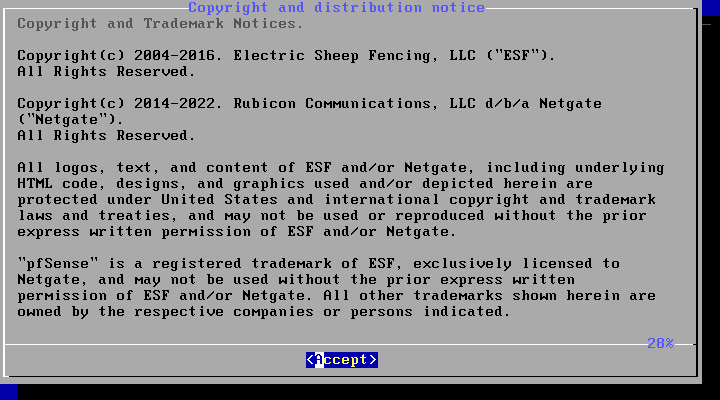
2、按 回车 继续
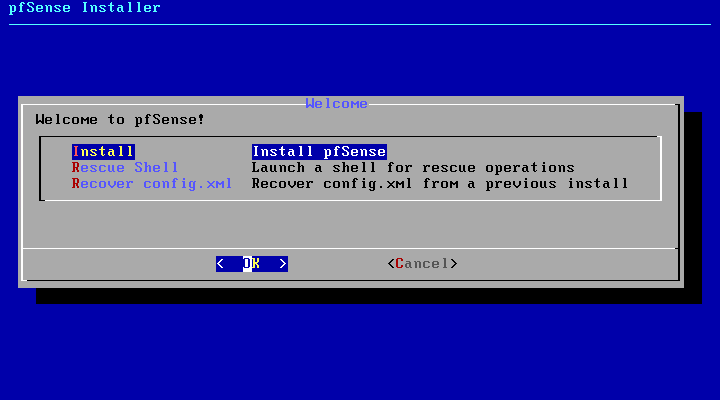
3、选择Install,按 回车 安装
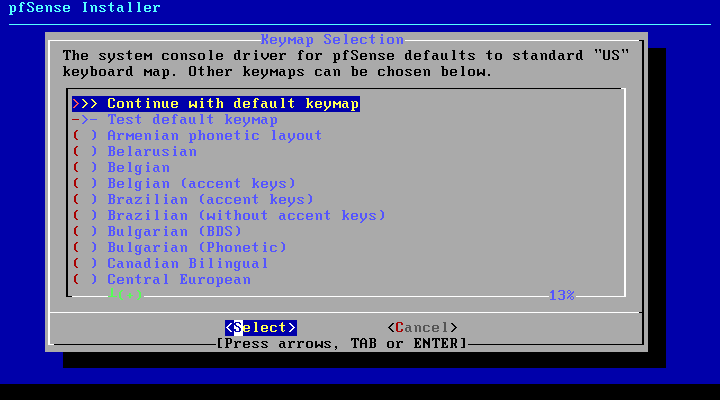
4、键盘模式,默认按 回车 继续
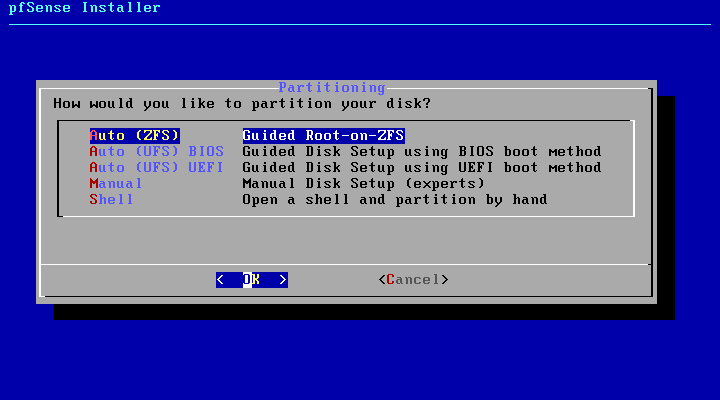
5、分区默认选择 Auto(ZFS),按 回车 继续
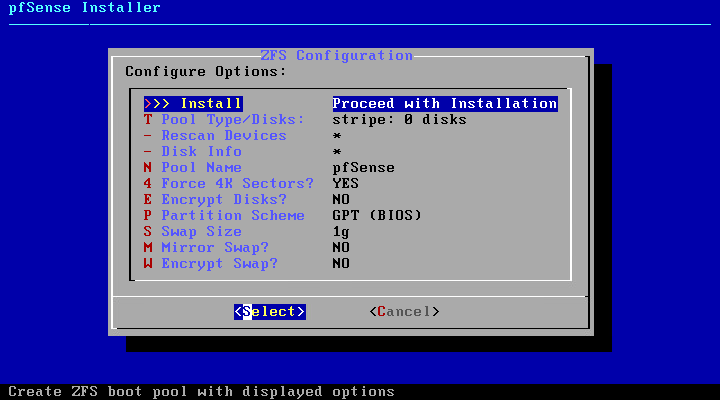
6、默认按 回车 即可
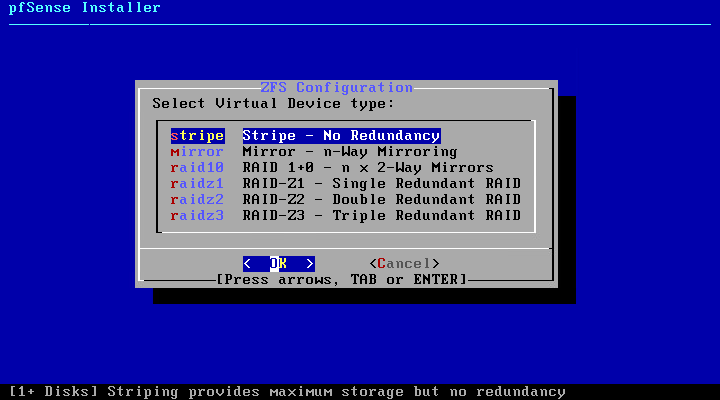
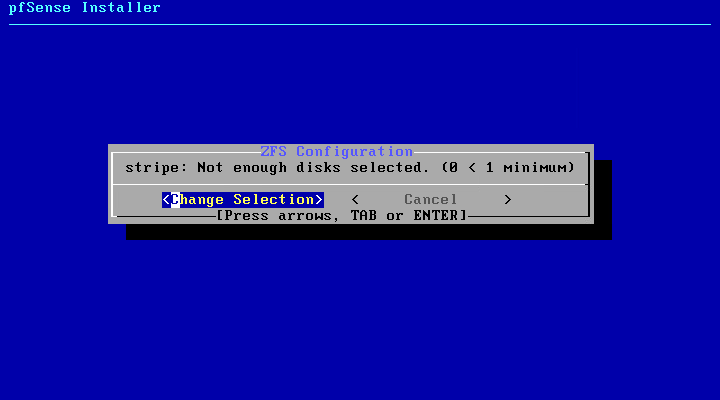
7、选择stripe,只有一个是1块硬盘,其他的需要2块硬盘及其以上,按 回车 继续
8、da0按 空格 选中,再按 回车 继续
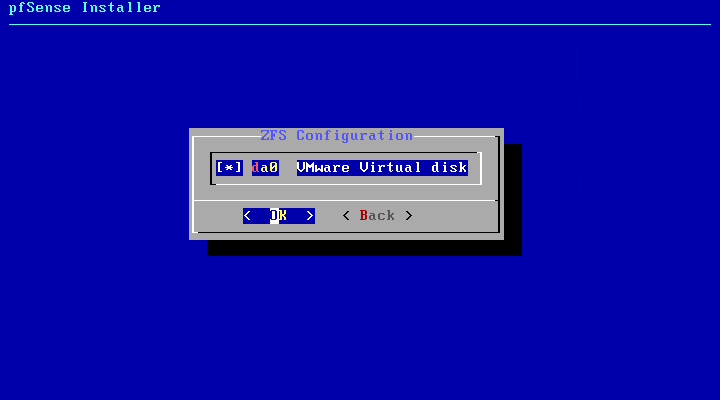
注意:如果未选中da0会报错,提示Not enough disks selected.
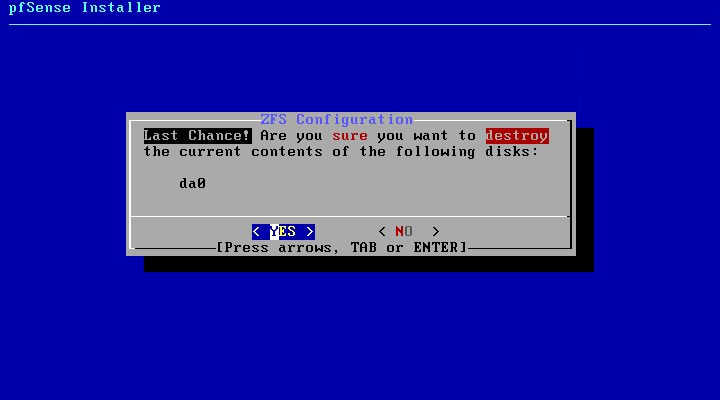
9、分区警告提示,按 回车 继续(硬盘所有东西清空)
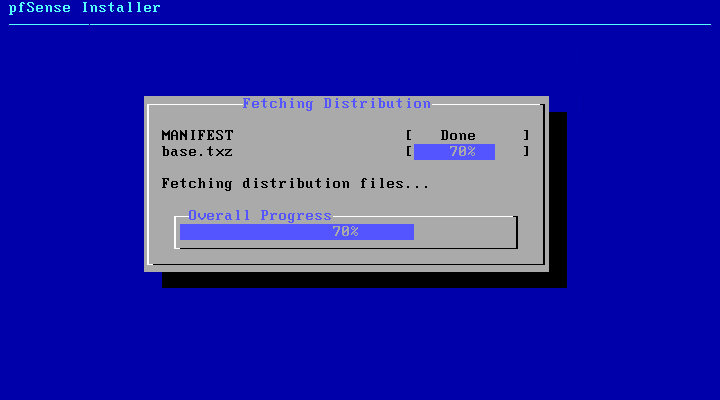
10、开始安装,等待即可,几分钟时间吧。
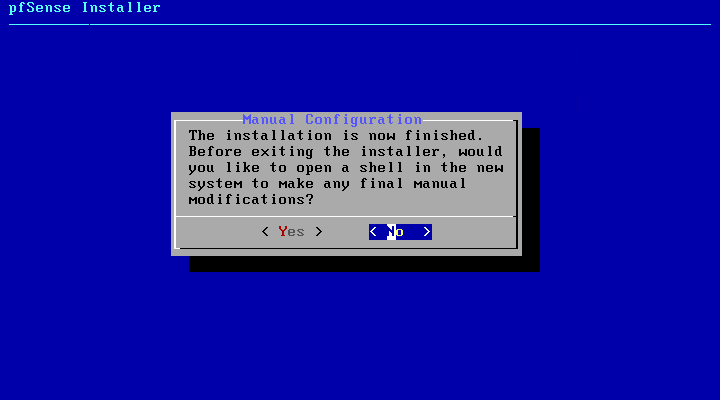
11、安装完,提示是否启用shell手动配置,选择 No 回车继续
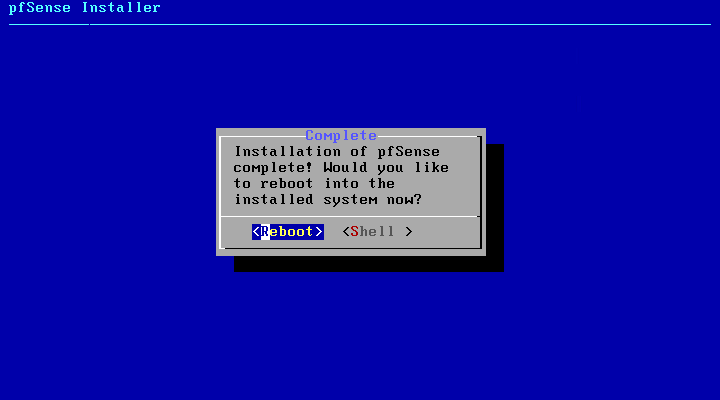
12、重启提示,选择Reboot 回车重启。
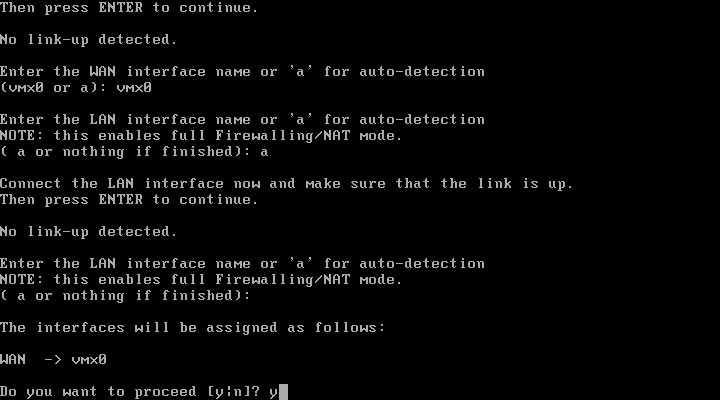
13、第一次启动需要进行一定的配置,Should VLANs be set up now [y|n],输入 y ,再按 回车

14、Enter the WAN interface name or 'a' for auto-detection(vmx0 or a),输入 vmx0 按 回车
Enter the LAN interface name or 'a' for auto-detection(vmx0 or a),按 回车
Do you want to proceed [y|n] 输入 y 再按 回车
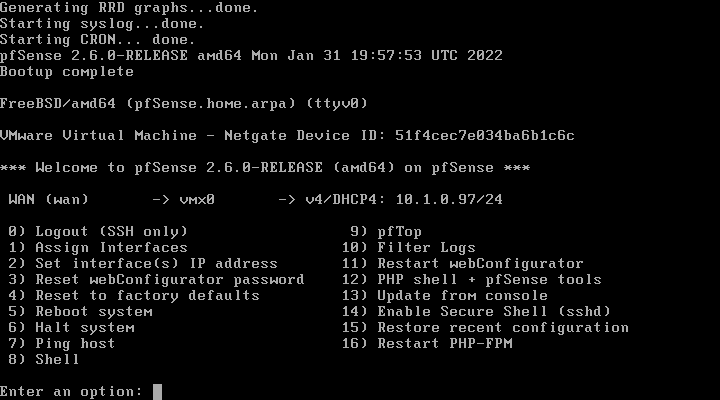
15、自动重启,可以看到pfSense的后台面板,可以看到在WAN口上有IPv4的地址
四、Web设置
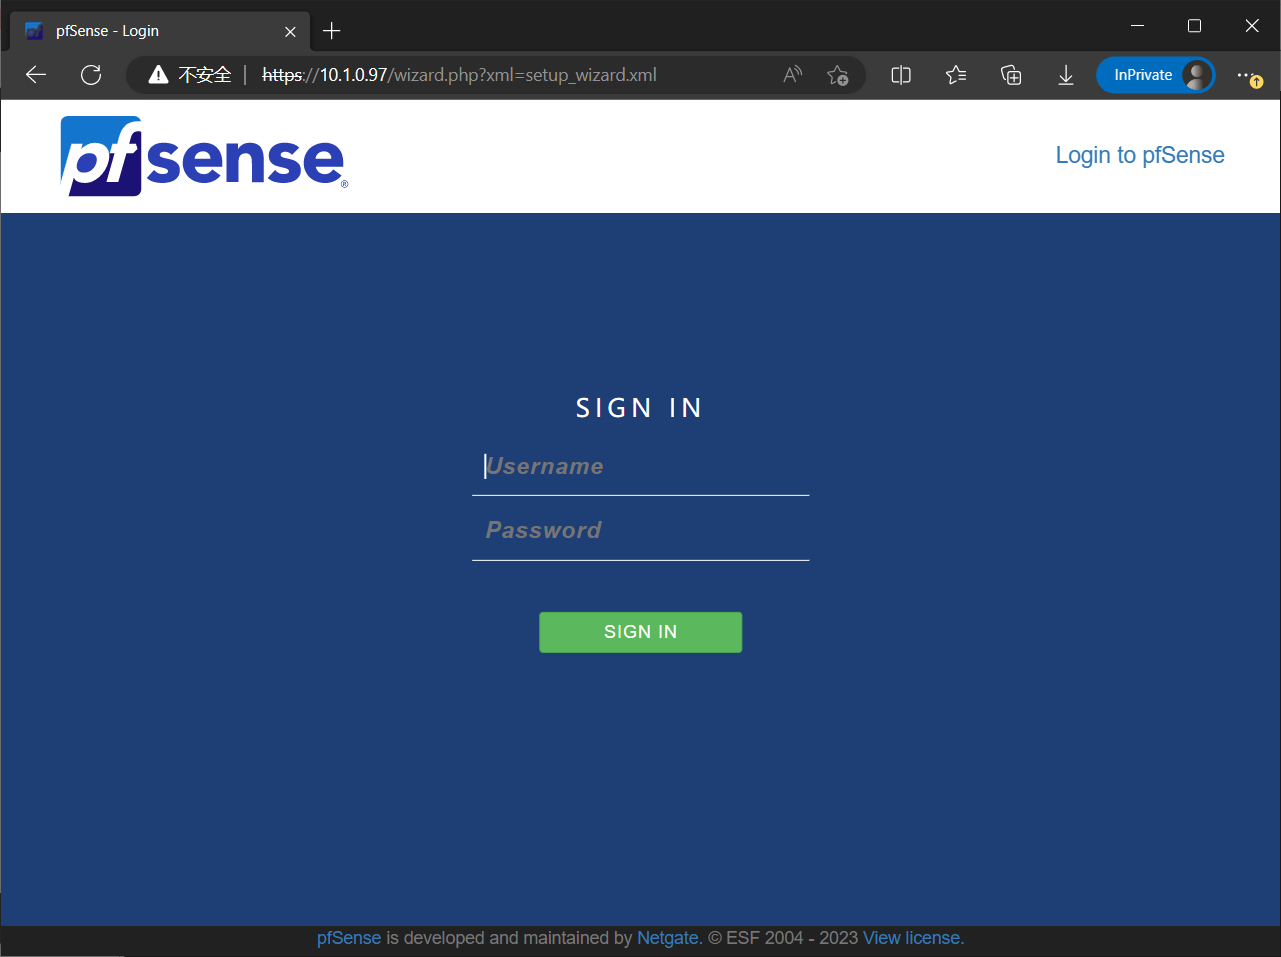
1、浏览器输入https://10.0.0.97,原始账号admin 原始密码pfsense
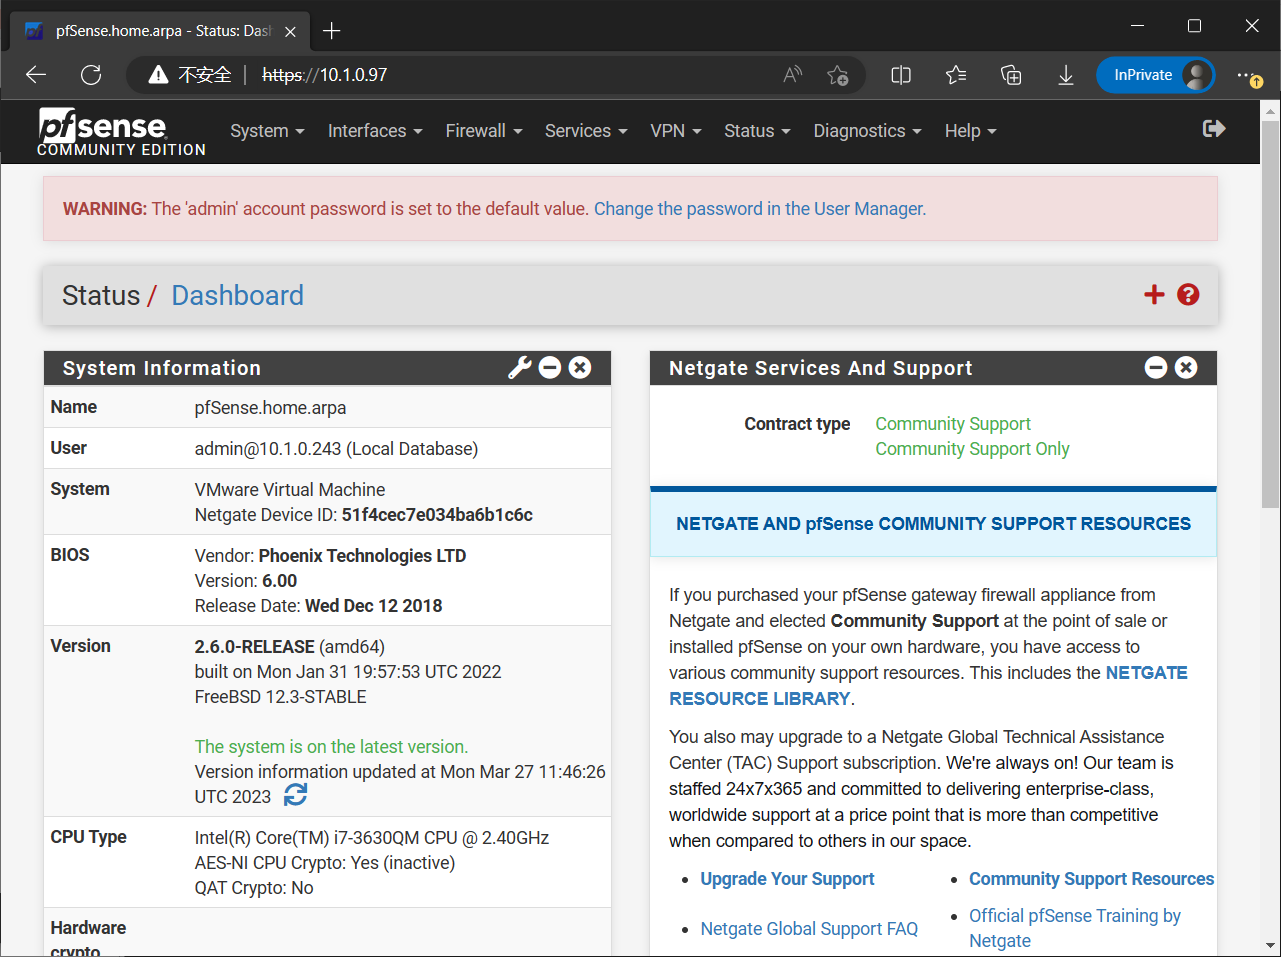
2、可以看到首页状态和信息了
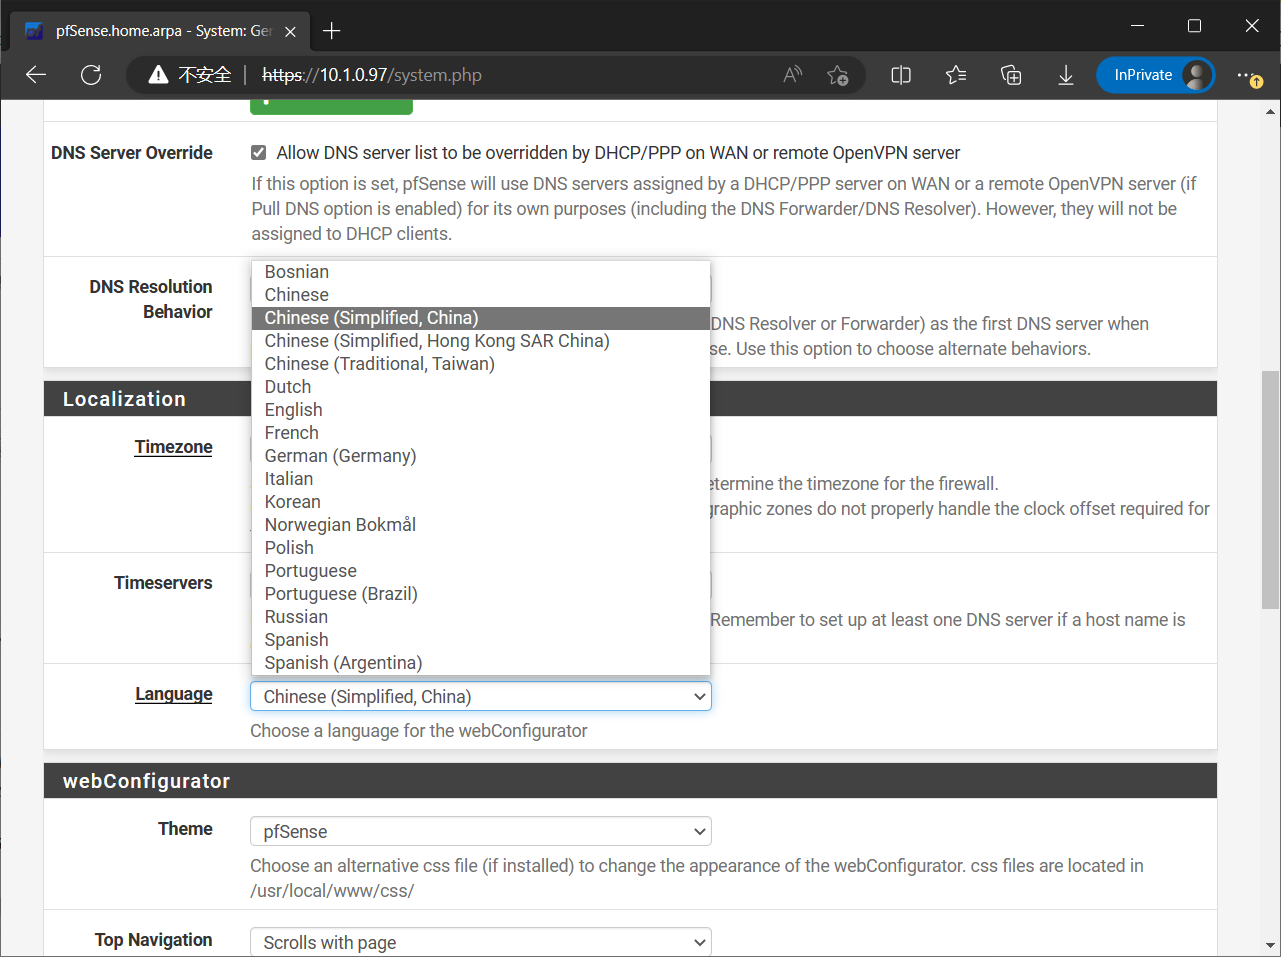
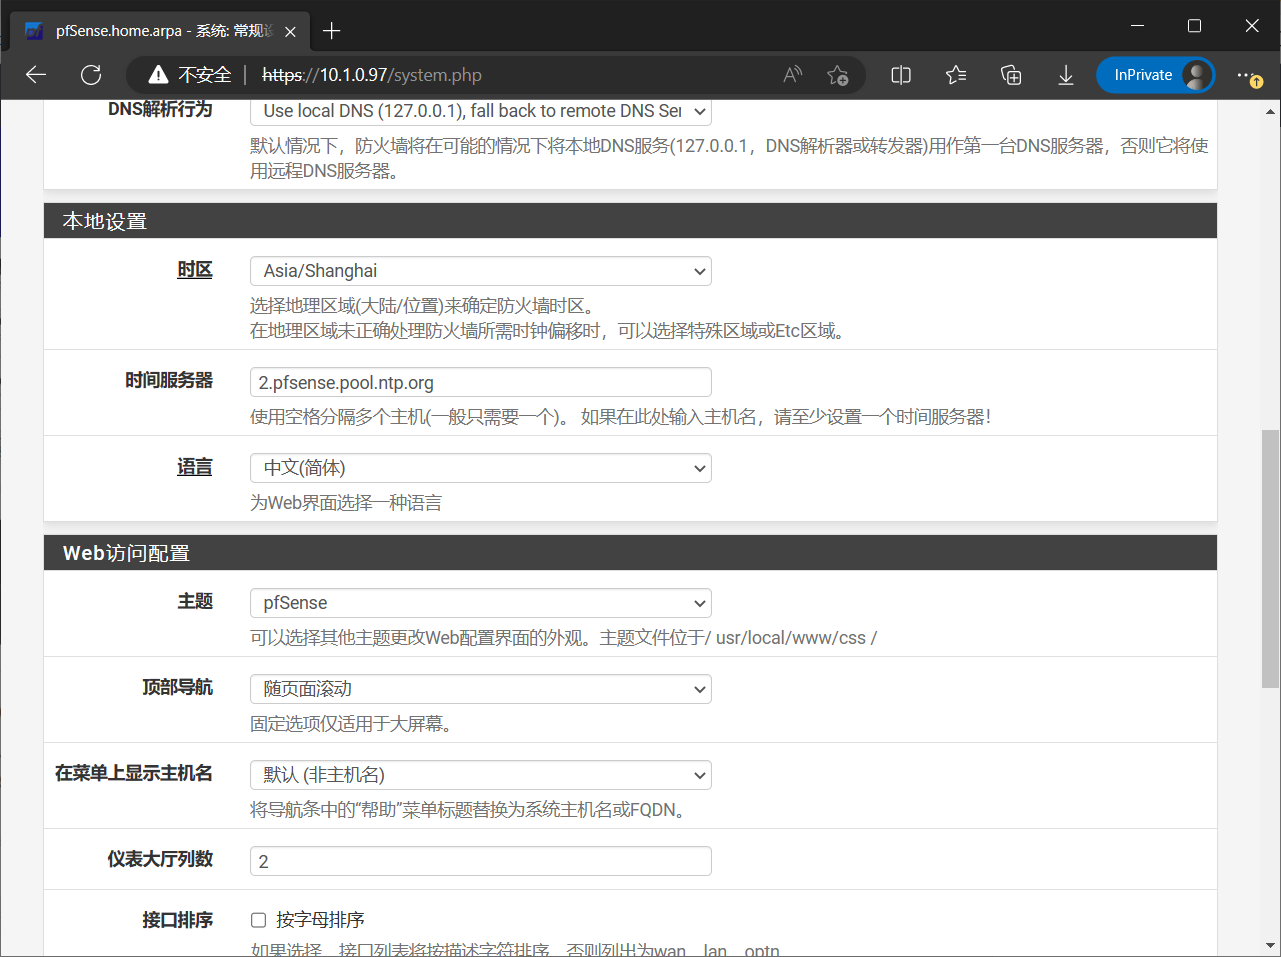
3、英文转中文,System -> General Setup -> Localization -> Language 设置为 Chinese (Simplified, China),设置完后点击 save 保存
- Author:Gweek
- URL:https://www.myla.eu.org/article/wsydezj
- Copyright:All articles in this blog, except for special statements, adopt BY-NC-SA agreement. Please indicate the source!